Affiliate Disclaimer:
FishKeepingAnswers.com is reader-supported. When you buy through links on our site we may earn a commission.
Setting up a new fish tank is a really exciting time. You have been to the store, bought all the things you need and now it is time to set everything up. First, STOP! Before you do anything, read through this guide fully and the chances of your fish living a long, happy life are much greater.
I have been keeping and breeding fish for over 30 years. I have lost count of the number of tanks I have set up over the years, but no matter how many times I do it, I still get that excited feeling. I currently have tanks ranging from 5 gallons to 300 gallons. No matter the size, they all get set up the same way.
The 14 Steps To Setting Up A New Tank
1. Rinse Your New Tank Thoroughly
Your new tank might look clean, but you would be surprised how much dust and grime it has accumulated both during manufacture and whilst in the store or in transit. When I clean my new tanks, I take a bucket of warm water (without any detergent) and I wipe down every surface inside and out, then dry it all off with a paper towel.
By rinsing the tank you prevent all that dirt from entering your fresh aquarium water.
2. Position Your New Tank On A Firm Base
Some tanks we buy come with stands whereas others we may place on a surface at home. Either way, the base must be firm, level, and steady. Most commercial fish tank stands come with adjustable legs or feet. Take your time to get it 100% level, otherwise, your tank may fail further down the line.
If you have made a custom stand, make sure it is completely level and securely screwed or bolted together. Fish tanks full of gravel, rocks, and water are extremely heavy, so make sure your base or stand can take the weight.
To give you some idea of how much a fish tank weighs, see the table below. Note, these weights are just the water.
| Aquarium Size | Weight of the Water |
|---|---|
| 10 Gallon Tank | 83lbs (37.6kg) |
| 20 Gallon Tank | 166lbs (75.2kg) |
| 40 Gallon Tank | 332lbs (150.5kg) |
| 55 Gallon Tank | 456lbs (206.8kg) |
| 75 Gallon Tank | 622lbs (282kg) |
| 125 Gallon Tank | 1,037lbs (470.3kg) |
| 155 Gallon Tank | 1,286lbs (583.3) |
| 180 Gallon Tank | 1,494lbs (677.6kg) |
3. Rinse Substrate In A Bucket
Although this step may seem like a lot of work, especially if you have a large tank, no matter what substrate you are using, taking the time to clean it now will pay dividends when you add water to your new aquarium.
To rinse your substrate, place a small amount into a bucket and run some water. Stir the substrate vigorously with your hands to release dirt and dust and pour the dirty water away. Repeat with that bucket of the substrate until no more dirt is released. Add that bucket to the new tank, then repeat the process until all the substrate has been added to the tank.
Let me tell you from experience, if you cut corners here, it can take days for your water to clear. If you don’t wash your substrate, not only will it release a cloud of dirt when you add the water, every time one of your fish digs in the substrate, dust, and debris will be released into the water column.
I wrote an article titled How Much Substrate Does My Aquarium Need? which will give you an idea of how much substrate you will need to purchase if you haven’t bought it yet.
If you are planning on growing live aquarium plants, try Fluval Stratum as a substrate.
4. Add The Substrate To The Aquarium
How you add the substrate will depend on what substrate you are using and whether or not you are going to ‘aquascape’ your new aquarium.
Aquascaping is just a fancy word for how you lay your aquarium out. For most of us, we just add some rock or wood and a few plants. But if you are going for something a little fancier, take your time spreading the substrate out how you want it.
Many aquarists will slope their substrate so there is a thinner layer at the front and a deeper layer at the back. This works especially well if you are putting live plants at the back as they will want to get their roots deep down into the substrate.
5. Add Rocks, Wood And Decorations
Now is the time to add any rocks, wood, or decorations you want to place in the aquarium. Whatever you are using, make sure it is positioned firmly and can’t be toppled over. If you are stacking rocks, consider gluing them together with aquarium-safe adhesive.
Larger fish will readily dig in the aquarium substrate, which can cause rocks and decorations to become unsteady and fall over, so bear that in mind. I once set up a 55-gallon tank for an Oscar. I just went with gravel and a few rocks, nothing fancy. Unfortunately, my Oscar decided to rearrange the tank. When I came in the next day, two large rocks were leaning up against the glass.
Luckily they didn’t break the tank, but they could have. Be warned!
6. Add About 6” (15cm) Water
Now you have the substrate and decorations in, add around 6” (15cm) of water. By adding just a little water, you allow the substrate to settle so you can check the stability of the rocks and decorations.
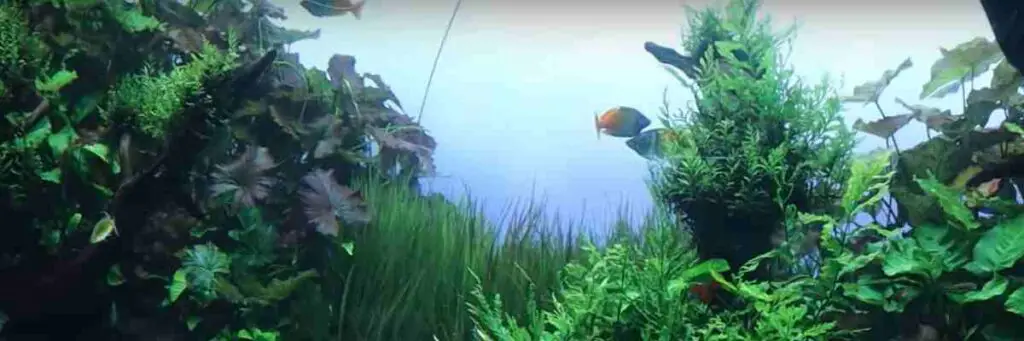
7. Plant Live Plants
I find having just a small amount of water makes planting the live plants much easier. If the tank is dry, it can be tricky to get the plant roots into the substrate. If the tank is full, your whole arm and sleeve get wet as you try to reach all the way down when adding the plants. By adding just a few inches of water, planting the live plants is much easier.
When adding the live plants, it is generally considered best practice to plant the tallest plants at the back and the shortest plants and the front, with everything else in the middle. The final layout is of course up to your own personal taste.
If you don’t want to use live plants, simply use fake ones instead. These days fake aquarium plants are very realistic. I have enjoyed using these ones from Amazon in a number of my aquariums.
8. Set Up The Heater And Filter
Now is the best time to decide where you are going to place the aquarium heater and filter.
The heater will need to be located somewhere where there is water flow. If the water doesn’t circulate around your heater you will have two issues. Firstly, if the water isn’t circulating, the area where the heater is will warm up, but the rest of the water will still be cold. Secondly, without proper circulation, your heater may overheat and stop working.
Take a moment to carefully set your heater to the correct temperature before placing it into the aquarium. It is much easier to set it before you place it in the tank than it is afterward.
Most aquarium heater manufacturers recommend you install their heaters at a 45° angle for the most efficient heating.
Whatever type of filter you are going to use on your aquarium, set it up at this stage, but don’t turn it on yet. If you are using a canister filter, place the intake at one end and the output at another for maximum water circulation.
For a hang-on-back filter, refer to the manufacturer’s instructions to decide whether the filter should be placed at one end of the tank, or in the middle. It does vary by brand.
I have always had good success with Fluval’s range of filters. I recently wrote an article which looked at their entire range. See Are Fluval Filters Good?.
9. Fill Your Aquarium To Almost Full
Now is the time to fill your aquarium to almost full. Don’t fill it all the way just yet as you may still end up putting your hands in the tank. You don’t want it to overflow.
Now, for the first time, your aquarium is full of water. Take a moment to check all the rocks and decorations are still secure. If the substrate has been moved when water was added, spread it back out how you want it and check that any live plants are still in place.
10. Add Dechlorinator
Unless you are on well water, there is a very good chance that your tap water contains either chlorine or chloramine. Water companies add one of these two chemicals to the water to make it safe for us to drink. The problem is, both chlorine and chloramine are very toxic to fish. They will burn the fish’s gills. To solve the problem we have to add a dechlorinator every time we add tap water to our aquariums.
Over the years I have tested many products and I would say Seachem Prime is the best. I usually order this one from Amazon. I have found their prices are usually very competitive.
11. Turn On Heater And Filter
Now is the time to turn on your heater and filter.
All being well the little light on your heater (if it has one) will come on to tell you it is heating your water and your filter should kick into life. Some filters need priming first, so check the instructions for your particular filter.
If you are using a hang-on-back or canister filter, check carefully that the filter isn’t leaking. You would be amazed how quickly a loose hose on a canister filter can drain your tank onto the floor. Trust me, I’ve done it!
12. Leave Your Aquarium To Run For At Least 7 Days
I will be the first to admit, resisting putting your fish in is by far the hardest part of setting up a new aquarium. I don’t have any patience, so I find this bit really hard!
It is important to leave your aquarium to run for at least 7 days to allow it to cycle. Cycling an aquarium is essential, but it is also widely misunderstood. I wrote an article titled Why do we have to cycle an aquarium? both of which go into much more detail, but essentially, cycling an aquarium just means giving the bacteria in the filter a chance to start colonizing.
If you are using live plants the whole process is much quicker, but the articles mentioned previously go into much more detail.
Be aware, if we fail to cycle a new aquarium properly, there is a good chance our new fish will die.
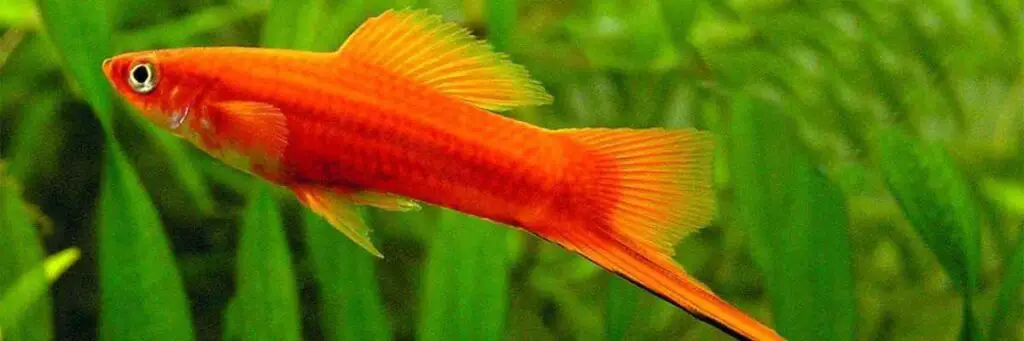
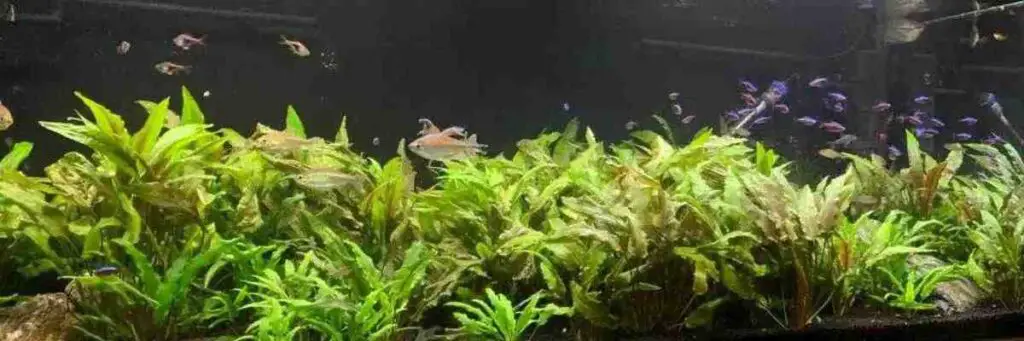
13. Add Fish
So you have followed the list above, your tank is full of water, your filter is running and your tank has cycled, now comes the time to add your new fish.
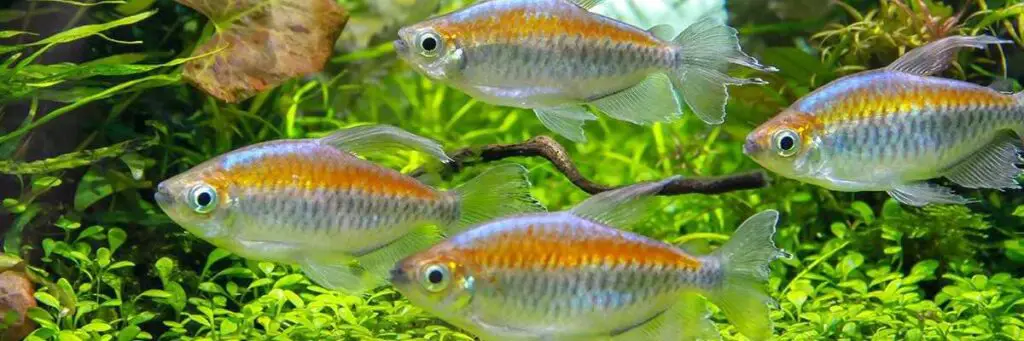
It is important to add fish slowly, and by that I mean, if you are hoping to keep 50 Neon Tetras, add 10 this week, then 10 more in another week or so. The reason we do this is to give the bacteria in the filter, which will process all the fish waste, a chance to multiply to the right levels. If we just add 50 Neon Tetras on day one, the filter won’t be able to convert their waste from the very toxic ammonia to the less toxic nitrate.
Whatever fish you are adding, build up your stock levels slowly to give your filtration a chance to keep up with demand from the fish’s waste.
14. Enjoy!
That’s it, you’re done. Your new aquarium is set up and the fish are in and everything is running smoothly. Now is the time to sit back and enjoy your new creation.
I love setting up a new aquarium, and despite having done it hundreds of times, I still follow the process above exactly, and I still love doing it. I hope to set up many more aquariums in the future.